(all photos by Aaron Grubb)
When you start getting into a vast subject like photography, you might find yourself overwhelmed with terminology that you don’t understand. I know exactly how you feel. A simple conversation with another photographer can make you feel ignorant when you don’t know the lingo, but have no fear. I have you covered! I’ve put many of the terms I’m using in bold so they’re easy to spot!
The Exposure Triangle
When you first decide to shoot in manual mode, it might seem daunting. If you try to find instructions on Google, you’ll almost definitely come across the “exposure triangle”. It’s a concept that you need to know, but it doesn’t make a lot of sense if you don’t understand the individual parts: Aperture, shutter speed, and ISO.
Aperture
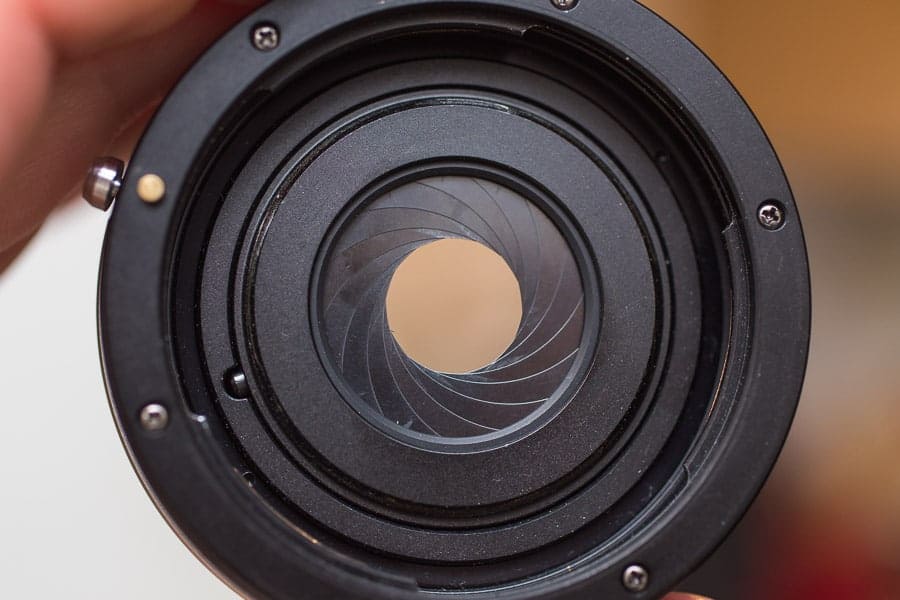
An aperture is a mechanical iris, similar to the one in your eye, that opens to let in more light or closes to limit the light entering the lens.
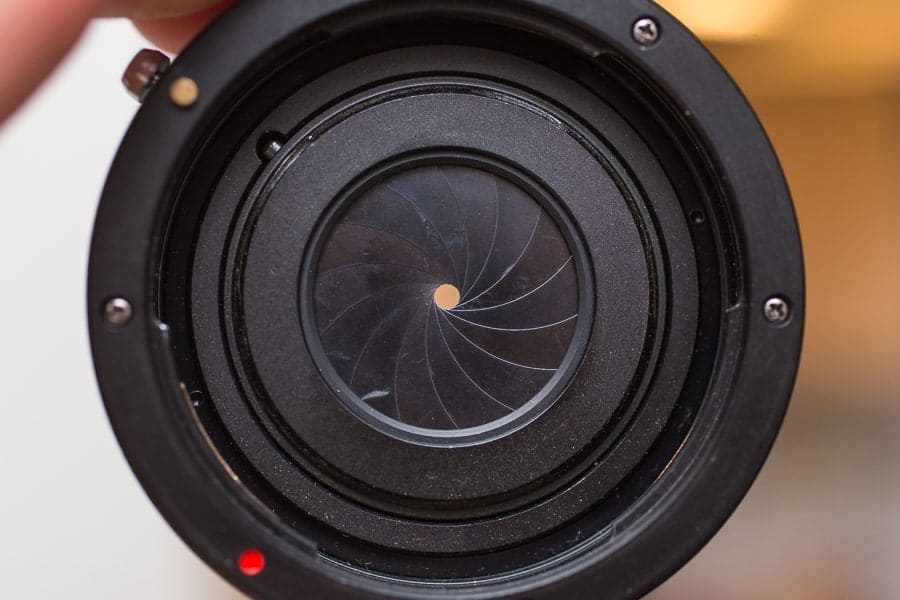
The amount of light it lets in is measured in “f-stops”, so if you hear someone say something about a lens letting in two stops more of light, just know that it’s a mathematical measurement of light. Usually, your camera’s dials controlling aperture, shutter speed, and ISO are set to be adjusted in ⅓ stop increments, so three “clicks” in a given direction will equal one stop. An important fact to note is that the smaller the “f-number”, the wider the aperture, so f1.4 is very wide and f16 is very small.
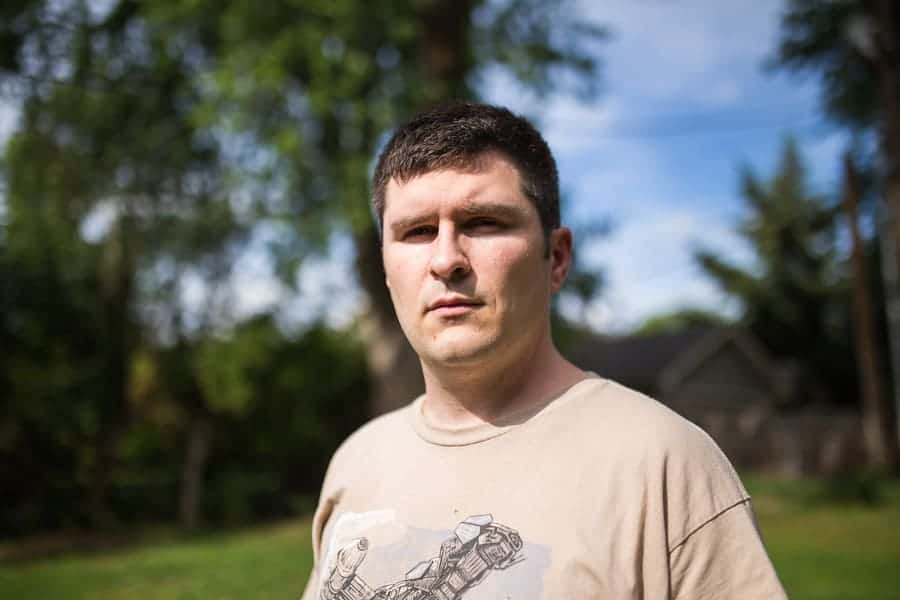
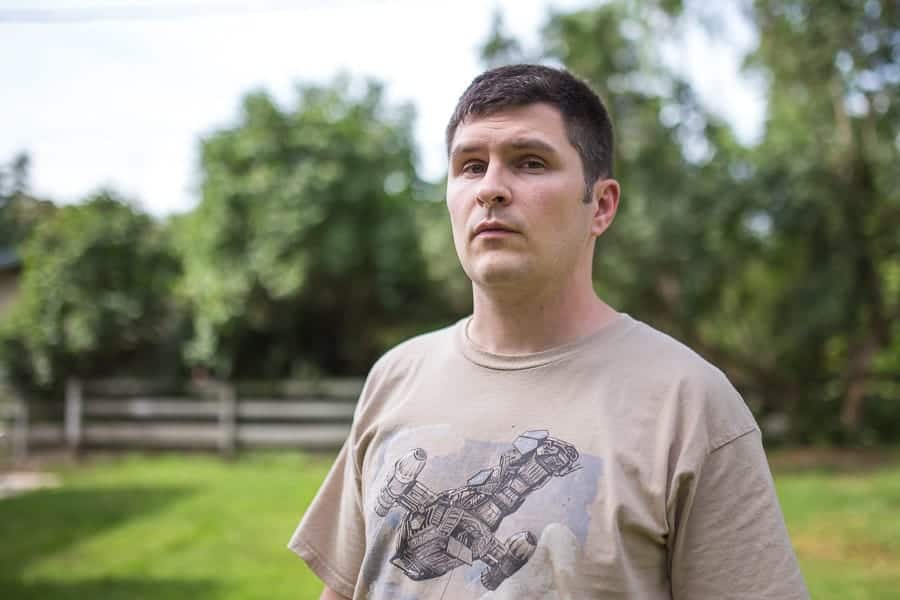
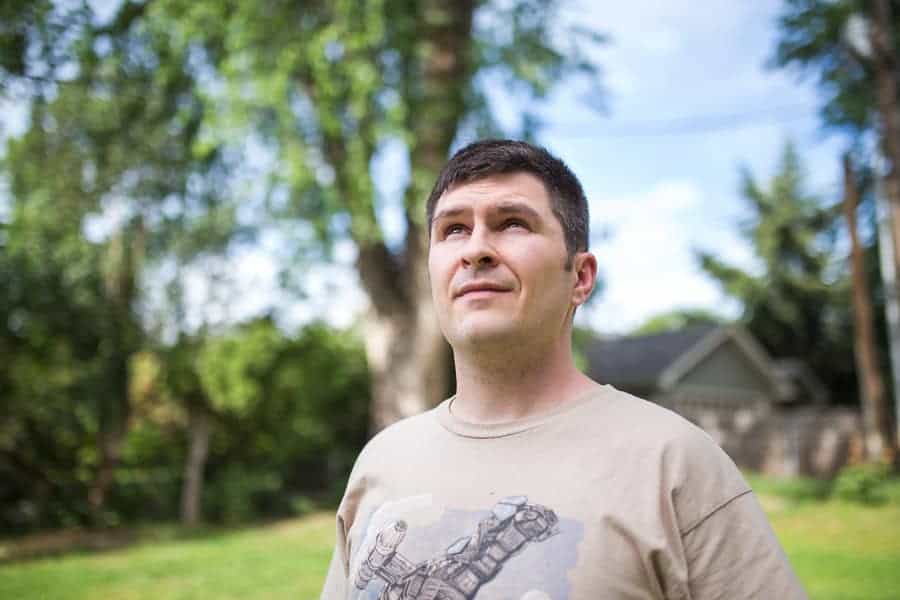
Why does the aperture of your lens matter? Well, different lenses have different f-number ranges. For example, my first lens (a kit lens), had an aperture range of f3.5 to f32. At f3.5, I found that my camera wasn’t able to take decent pictures indoors without a flash. I didn’t have a flash besides my pop-up flash and I didn’t like how the images looked when I used it. When I had my first encounter with the inexpensive 50mm f1.8 lens, I was shocked at how much better it was in low light. Not only that, but when you have your aperture at a wider setting, your images will be noticeably different, due to the depth of field (also written as DOF) being “shallower”. Below are two images taken on a 35mm lens; one at f1.4 and one at f10.

This simply means that less of your image is in focus. This is seen often in portraits: the person is in focus and much of the scene is out of focus. This is achieved by using a lens that has a wide aperture. Focal length also affects depth of field, though. “Longer” lenses (lenses that have a longer focal length) will blur more of the background. Your distance from your subject affects your depth of field, as well. The closer you are, the less there is in focus.
Shutter Speed
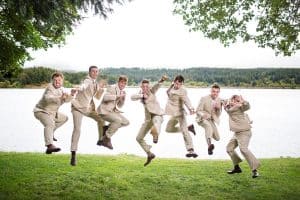
This is the easiest part of the exposure triangle to explain, and probably the easiest to understand, too. The shutter in your camera can be likened to a curtain. The curtain is covering your camera’s sensor (or film) until you press the shutter release button. Once the button is pressed, the curtain is opened, letting light in. Essentially, shutter speed is how long that curtain stays open. If you leave the shutter open too long and you’re hand-holding it, you will see evidence of “camera shake”: blur caused by camera movement. You will also notice “motion blur”: the blur caused by the movement of your subject. If you don’t want this to happen, simply increase your shutter speed. This would be a good time to introduce you to the “reciprocal rule”. It’s used to find the minimum shutter speed you should use with a certain lens. Shutter speeds are measured in seconds and fractions of seconds. For example, your shutter speed could be thirty seconds (or, in your camera’s settings, 30”), one eightieth of a second (1/80), one eight-thousandth of a second (1/8000), or somewhere in between.
The reciprocal rule is one over your lens’s focal length times two. In practice, you could take the focal length of a 50mm lens, multiply it by two, and put a one on top: One one-hundredth of a second (1/100). This number is the minimum shutter speed you should use with a 50mm lens, but, in my opinion, you should try to use a faster shutter speed if you can.
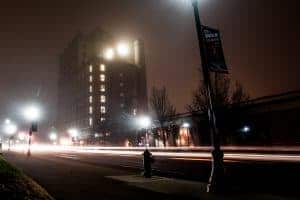
If you put your camera on a tripod and slow your shutter speed down to under a second, you can get into “long-exposure” territory. Long exposures are the images you see where some of the image is sharp and the moving subjects like people, cars, waterfalls, or clouds, are blurred. Many of the long exposures I’ve done are over ten seconds, but that’s something you’ll need to experiment with.
ISO
I would describe ISO as sensor sensitivity. From what I understand, as you increase your ISO, the sensor’s signal is amplified, increasing the exposure. There are some drawbacks to increasing your ISO, though. The first is that you lose some of your dynamic range. Dynamic range is the range of light that your camera can capture in an image. You’ll notice the reduced Dynamic range especially when you’re editing the image.
If you slightly over or underexpose the image,

it’s harder to recover those details in images taken at high ISOs. Another drawback is noise. Noise is to images as static and distortion are to weak radio signals. Just like you hear a “fuzzy” signal when your radio is slightly off the channel or getting out of range, noise creeps into your images in the form of “grain” or “color noise”. Color noise is the noise that manifests as a nasty pattern of color, especially in the shadows. The third drawback I’ll mention is the loss of detail. Sharpness quickly disappears as ISO is increased.
Hard and Soft Light
When listening to someone describe light, especially in portraits, you’ll often hear people say that light is “hard” or “soft”.
Hard light is light that has a very quick transition between the highlights and shadows. Soft light has smoother and longer transitions. Now which lights are often soft or hard? It depends on how large the light source is, how it is “modified”, and how far away it is from the subject. The sun is the perfect example. Evidently, it’s big enough to fit over a million of our earths inside of it, but does that make it a soft light source? No. It’s so far away, that it appears very small in the sky and is no better than flashing someone with a bare flash. This is why you see people shooting at “golden hour” so often. Golden hour is the time of day when the sun is low in the sky and, well, golden.

The colors look nice, but another reason you’d shoot at this time of day is that you can avoid the harsh shadows caused by our small light source, the sun, by putting the sun behind the subject. This is referred to as back lighting: when a light source is behind the subject. It is also referred to as rim lighting, among other things.
You could leave it at that, or you could add a reflector to bounce back that light back into their face. If you get the reflector fairly close, it can be quite a big, soft light source, filling in the shadows on their face. A reflector is a type of light modifier. Light modifiers change the way light falls on your subject. Another popular light modifier is the photographic (shoot-through) umbrella. It can be used to diffuse and soften the light of a flash and to make the light source bigger. I have also seen umbrellas used to diffuse and soften sunlight.
Bokeh
The pronunciation of this word is debated, but this video should help. The word “bokeh” refers to the out-of-focus area of photos. Bokeh can be pleasing to the eye or distracting. Different lenses have bokeh with different characteristics. This is why people spend lots of money on lenses like the Canon 50mm f1.2L: it isn’t terribly sharp and is has a bit of chromatic aberration, but it’s bokeh is very nice, giving the images a beautiful “look”. By the way, chromatic aberration (or color fringing) is when edges between light and dark parts of the photo have an undesirable green and purple hues. This happens more often in photos with lots of contrast.
Color Temperature
All light has a certain hue to it, but our eyes (and brains) often adapt to it (or ignore it). Our cameras aren’t as good as we are at adapting to it, so the images straight out of camera (SOOC) often are “cooler” (having a more bluish tint) or “warmer” (having a more yellowish tint). Color correction is tricky, so people often produce images that aren’t perfectly color corrected; instead, they produce images that are actually an interpretation of reality. I tend to lean more towards the warmer side of the temperature range; it’s a personal preference, in the end. Here's a comparison of cool versus warm color temperatures:
Until Next Time
I plan on writing another article or two to explain more photography lingo, so if you have any suggestions or questions, I’d love to hear them. Let me know!


What we should do to get cooler or warmer look??
Manish, in most editing programs, you can move the “Temp” or “Temperature” slider towards the blue to get a cooler look or towards the yellow to get a warmer look. Does that answer your question?
BTW, I am always sending people to this article when they ask me how to be a photographer. SO helpful!